Everyone is talking about direct-to-film (DTF) transfers. This innovative garment decoration method is changing the way people think about heat printing. DTF transfers have many benefits including:
- The ability to print unlimited colors
- No outlines
- Low temp heat application
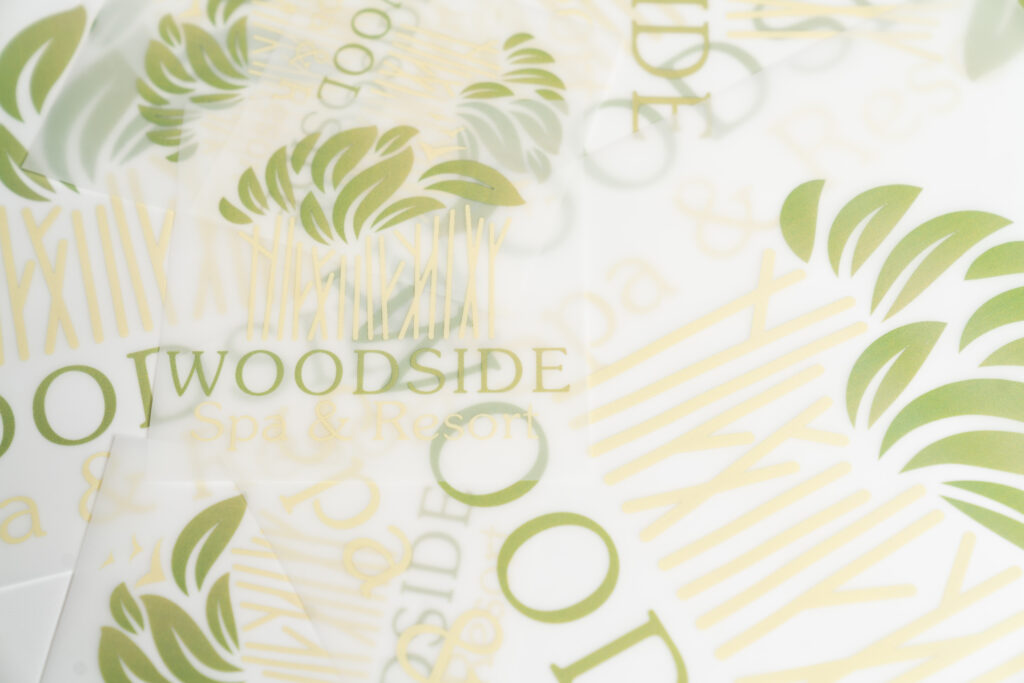
- Extremely fine detail including floating text
- Lightweight, soft hand after heat printing
- Can be applied in any location on garment
Our UltraColor™ MAX direct-to-film transfers feature all of these benefits, as well as a fixed low cost. Take advantage of our ability to print DTF transfers for you, and get the most out of our custom transfer service by knowing how to prep your artwork. As with any type of garment printing, it starts with the right artwork. Screen printing art guru and DTF art expert Dane Clement lent a hand in preparing this list. Dane has been featured in popular industry magazines for his artwork expertise and is the president of Great Dane Graphics. With Dane’s knowledge, we’ve crafted the top 10 tips you need to know when preparing art for UltraColor™ MAX transfers.
1. Design Your Artwork With “Show Through”
Your art should allow the garment color to “show through” to create an overall softer final print. According to Clement, “DTF already has a softer hand than many other transfer types. However, by incorporating openings throughout a design, there will be less ink and adhesive applied to the garment, giving the design an even lighter feel. When images are large and solid, the garment has a thicker feel.”

2. Have Realistic Color Reproduction Expectations
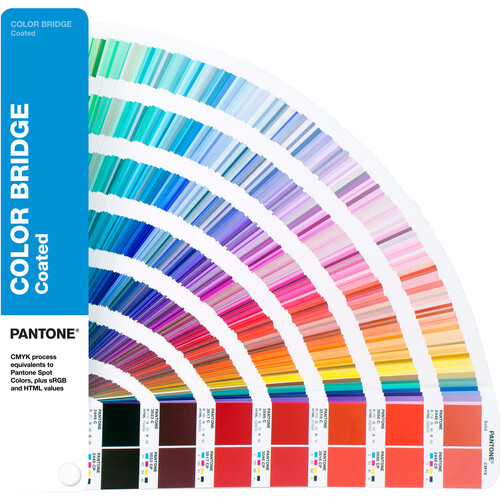
Colors vary from computer monitor to monitor, and from printer to printer. Clement suggests you design using RGB settings because it offers a larger color gamut, but keep in mind the DTF printer will use CMYK. A Pantone Bridge book is a great tool to manage expectations, as the book shows you the Pantone color and directly next to it, the color as processed in CMYK. Think of it as a going to the paint store and choosing colors. This allows you to give the customer a physical sample of colors to pick from and expect the same result when printed.

3. Be Aware of “Soft Edges” vs. “Hard Edges”
Clement further reminds us that, “Images with soft edges do not reproduce well because the small dots/ink droplets that create the image are not able to adhere to the shirt.” When there’s not enough surface for adhesive, you lose the edges of the design. This results in a rough, splotchy edge. Images with hard, defined edges do not run into this issue.

4. Use Patterns, Fills, and Gradient Fades
Your artwork can take full advantage of direct-to-film transfers and their unlimited digital color capabilities. This will also help differentiate your result from what can be achieved with “vinyl” or “spot color plastisol inks.” In addition, you can use photographs and painted, full-color, raster illustrations that use multiple colors when creating art for UltraColor™ MAX transfers.

5. Say YES to Thin Lines
UltraColor™ MAX transfers allow for the use of small floating type and fine lines in your artwork. Clement explains why this is a game-changer. “Unlike other processes that require a thicker line to hold information, DTF allows much thinner lines. The minimum thickness required for DTF artwork is .018”, which means you can even use small floating type for shirt tags.” Here’s another tip from Clement: “You can check the sizing of your artwork by creating a small circle (.018) in size and move it around your design. Move it over the thinnest parts of the design; if your line is larger than this circle, it’s good to go. If it’s smaller, then make it larger to fit.”


6. Vector or Raster? You Can Use Both!
According to Clement, “Vector artwork is made up of lines and shapes created by points or nodes, and outlines or paths. This type of artwork can be enlarged infinitely without losing quality. Raster artwork is made up a series of small dots called pixels creating a varying tonal image such as a photo. This type of artwork is limited in how much it can be enlarged, as it will lose quality and could become blurry and/or pixelated.” Since UC MAX is able to print in full color, with very high resolution, either type will work no matter if the design is one-color, full-color, a photo or illustration.
7. Use Any Design Software
The more common design software for vector artwork is Adobe Illustrator and CorelDRAW. Adobe Photoshop and Corel PHOTO-PAINT are common raster image editing programs. However, there are many other programs on the market such as Serif Affinity Designer (vector) and Affinity Photo (raster) among others, all of which can be used as long as you have the ability to save the proper file format to send to your printer. Transfer Express’ Easy View® Designer is also an excellent alternative to having to purchase your own software.

8. Size Is Not A Problem
With UC MAX transfers you have the freedom to size your art for any type of garment, youth or adult. You don’t have to commit to printing just one size or just one location. Print what you need, when you need it at any size that you need, in the quantity that you need.


9. Consider Using Variable Data
Since UltraColor™ MAX is a completely digital product, you can use variable data printing to create individualized transfers in a single run. You can fill a sheet with different data to complete multiple uniform orders in one upload. This is an ideal solution for adding individual names or numbers.

10. Embrace the Use of Photography
With the full-color printing capability of UltraColor™ MAX, you can print any kind of image, even photographs. This is a great way to create custom, personalized layouts for clients. Since photographs are raster images, you need to make sure they are at the proper resolution to get the best quality print. Low-resolution images are usually 72 DPI and are used for things like web design. When creating raster images for UC MAX, use a higher resolution. “We recommend 300 DPI, with the artwork set at actual size,” says Clement. “Keep in mind if you plan to use the image for multiple locations at varying sizes, create the initial layout at the largest size. You can then reduce it for smaller applications. The higher the resolution, the clearer and sharper the image.”

All in all, there are many variables that impact the success of well-produced direct-to-film transfers, including managing your RIP software, color management, controlling the printing climate, ink, adhesive and film compatibility, and much more. Creating suitable, printable artwork is just the tip of the iceberg, but these tips showcase the extreme flexibility in artwork design that is possible only with UltraColor™ MAX transfers.

Watch the video below to see more tips and learn how to create fashionable designs for DTF transfers.


Hello, do you sell dtf inks?
Hi Catherine. We currently only sell DTF heat transfers. Thanks for reaching out!
How much a transfer?
I don’t quite understand how to do this “You can fill a sheet with different data to complete multiple uniform orders in one upload.” I would love to jump on a call or point me to a video that explains this so I can take advantage. I’m super interested in it!
Hi Lee. You can setup multiple art images within a 22″ x 22″ design area – that’s the max size we print sheets of transfers. So, as long as there is enough space in between your artwork to cut the images apart, you can capitalize on many designs within one upload. If you have more questions, please contact our Customer Service Team for assistance. You can reach us at 800-478-2457. Thanks!
Hi Lamar, pricing is based on the height and width of your artwork. For price estimates, please visit our Artwork Uploader page. Thanks!