
We recently published The Complete Guide to Printing Monograms, a free eBook with everything you need to know about creating monograms and using them to decorate hot selling apparel and accessories. Download the eBook by clicking the button above and read more to learn how to create monograms the easy way with CAD-CUT® Templates.
Creating beautiful products and apparel with custom-made monograms is easy when you use CAD-CUT® Heat Transfer Templates! You’ll no longer have to worry about things like complicated designs, font placement, or licensing. We took care of the hard work for you, so you have more time for the fun stuff.
Go from an idea to a product in three simple steps:
1. Choose a monogram template from the library.
2. Customize your design – change the color, adjust the font, make it unique. We’ll cut and ship it to you.
3. Heat press and voila! You’re done!
Check out this video we created to highlight just how easy it is. Creating Monograms With the CAD-CUT Templates Designer
If you’re ready to learn more about creating cool monogrammed projects for yourself, your family, or your customers we’ve broken it down in step-by-step instructions.
Step 1: Go to the Template Designer
Visit the CAD-CUT® Heat Transfer Templates page and click on the green “Go to Designer” button.

Step 2: Login
If you’re not already logged in, you’ll be prompted to now.

Step 3: Select Your Style
From the Choose Category drop down menu, select your monogram style – circle, diamond or universal.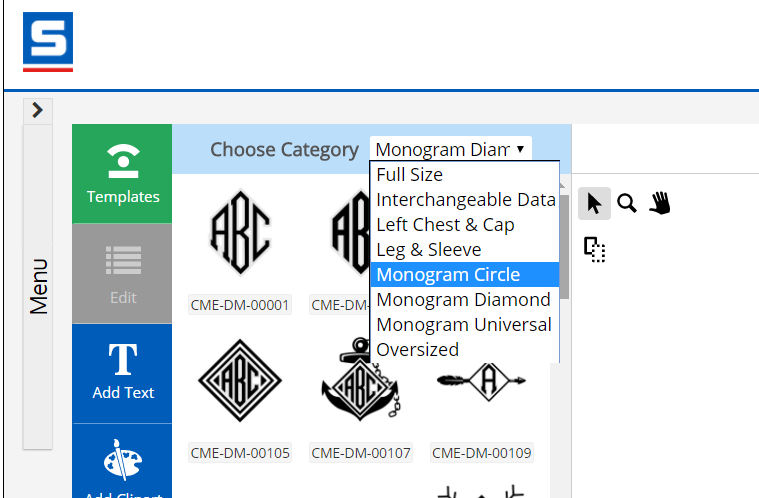
Step 4: Customize Your Initials
You can change the font from the drop-down menu in the working area. The universal monogram allows for the most freedom to customize your design, but also includes a greater margin for minor errors. When adjusting your font, check for overlapping serifs, swashes or tails and check the font placement to ensure everything is evenly spaced and aligned.
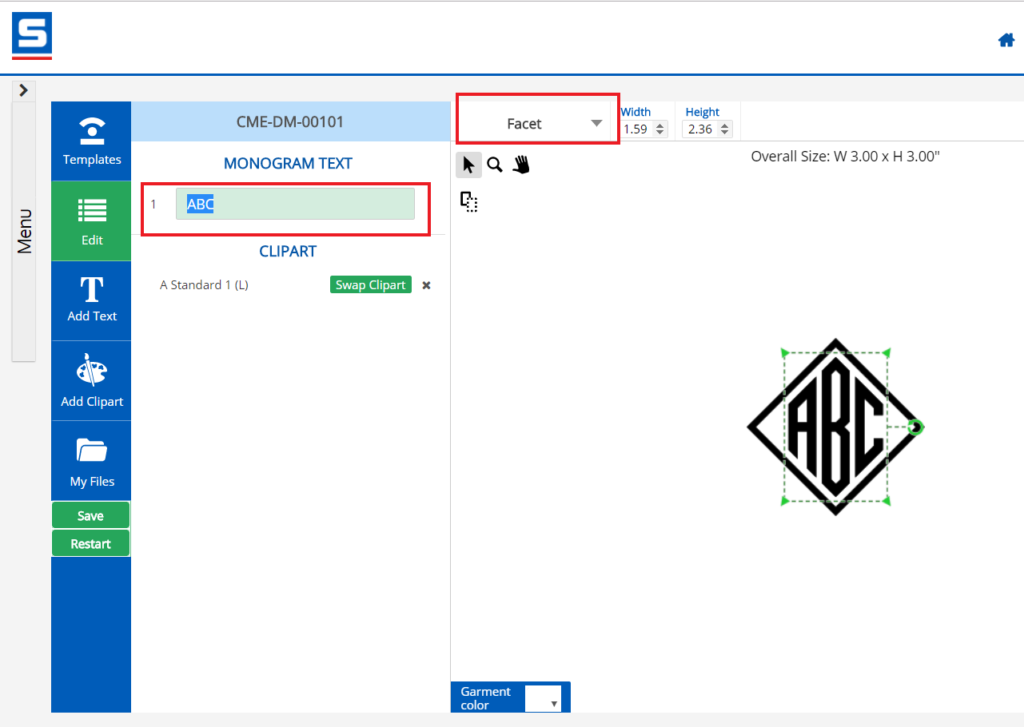
Step 5: Adjust The Size
To make your design larger or smaller, select the individual area you want to change by clicking on it or by choosing the “select all” button at the top left of the working area. When the green box appears, click and drag from a corner to adjust the size or select the circle arrow to rotate the image.

Step 6: Choose Materials and Colors
Select the garment color at the bottom left of your working area to get a more accurate idea of how your monogram will look on the finished design. Choose the material type and color from the right-hand menu.

Step 7: Order Your Design
We’ll cut your design for you and ship it out based on your shipping preferences you’ve selected in your account.
As you can see, creating custom monograms really is as easy as 1-2-3: select your monogram’s style and color, and place your order. The only limit is your imagination!
Want more inspiration and ideas for monogrammed apparel and gifts? Download the Complete Guide To Printing Monograms, our complete guide to all things monogram.