
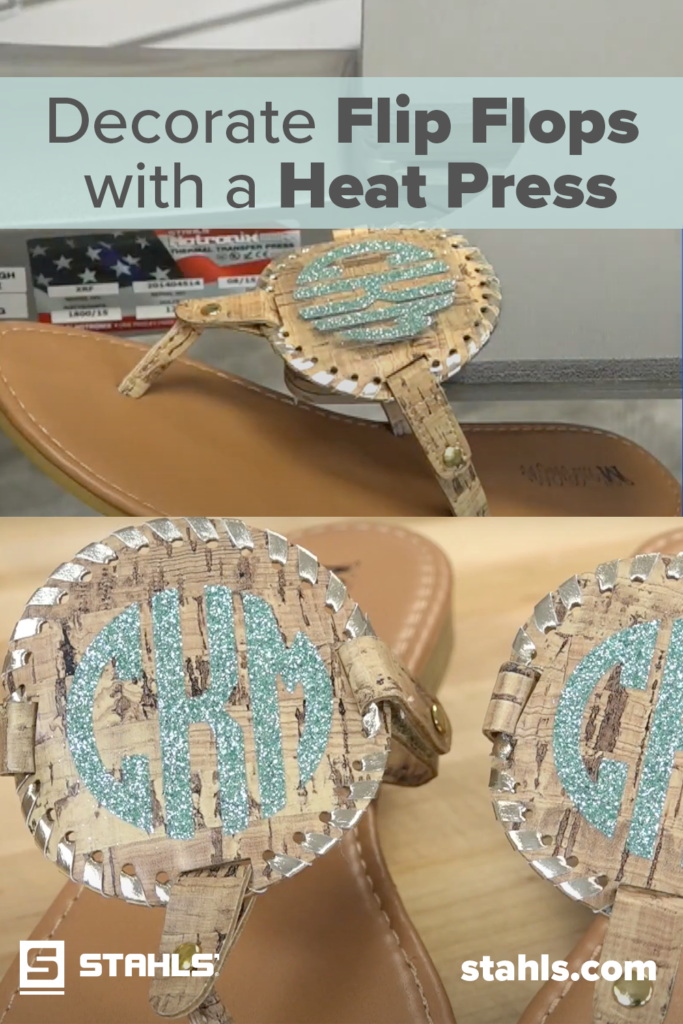
Personalizing clothing and footwear has gained major popularity in recent years in the heat printing industry. If you’re looking for a great way to start creating your own custom apparel and accessories with a heat press, there’s no better place to start this summer than with flip flops. With a few key tools and materials, we’ll show you how easy it is to decorate flip flops with a heat press and turn up the heat on your profits.
Heat Printing Tools Needed
1. Heat Press
2. Heat Transfer Vinyl
3. Heat Press Pad or Hotronix® Shoe Platen
4. 6 mil Cover Sheet or Kraft Paper
5. Flexible Application Pad
6. Extra Flip Flops for Testing
Get Started Heat Printing Flip Flops
1. Choose the type of flip flop shoe you’d like to decorate. Straps with cotton, polyester, or nylon are common and the best fabric choices for applying heat transfer vinyl with a heat press. *Note make sure the straps you choose can withstand high heat from a heat press. Rubber and PVC straps are not recommended.
2. Choose the type of HTV you’ll be applying. Use our material/fabric selection chart to help you decide which material will work best for your flip flops.
3. Create your design. When it comes to creating custom logos and designs for your customers, you have options. Check out our top choices below:
- Purchase a roll of special effect CAD-CUT® HTV and cut the design on your vinyl cutter
- Order a Custom Cut CAD-CUT® Transfer – we’ll send you a cut & weeded design, you just heat apply!
- Choose CAD-PRINTZ® Sublimation Transfer Sheets for a full color look in one application

*Pro Tip: Use the same special effect HTV to create a fun, trendy summer look for your customers. Check out this blog post to see how to use Glitter HTV to decorate flip flops and a bag perfect for any beach day!
Ready to Decorate Flip Flops with a Heat Press?
Before you begin decorating, you’ll want to protect the foot bed of the flip flop so it doesn’t come in direct contact with the heat press.
The Hotronix® Shoe Platen will make your life so much easier when heat applying all types of shoes. Position the flip flop strap on the platen, place the design, cover with a non-stick cover sheet, and heat apply according to the heat transfer application instructions.
Use a Heat Press Pad for a Perfect Print, Every Time
If you’re not looking to invest in the Shoe Platen, but want to get started printing right away, a Heat Press Pad will come in handy. You can cut the pad down to make it easier to handle and fit inside the item you’re pressing. Insert the pad underneath the straps of the flip flop, place the design, cover with a cover sheet, and heat apply.
Make sure the fabric on the area between the toes can withstand the heat. If you’re unsure, it’s best to invest in a flexible application pad to help prevent synthetic elements from melting.
That’s it! You’ve just decorated your first pair of custom flip flops. With the right tools, materials, and education, decorating something new doesn’t have to be hard! Happy heat printing!
Where can I purchase this style flip flop at wholesale???
Hi Jen,
The particular sandals used in this post were store-bought. We don’t currently recommend any footwear wholesalers, but similar flip flops can be purchased inexpensively at most department stores.