Fit more designs on transfer paper by expanding your print area.
By Juliet Kalmeta, Technical Support Specialist

When using the Print/Cut workflow in the Roland® DG Cut Studio™ software, the page margins may be too large for you to fit your design(s) within the crop marks. If you need to make the page margins smaller so you have a larger distance between the crop marks, I found the following steps work best:
InkTra™ Opaque Inkjet Transfer Paper is the only transfer paper on a carrier. This is necessary to feed the paper through the cutter and have the blade only cut the paper itself, keeping it on its carrier so it does not jam the paper inside the machine (similar to cutting a piece of CAD-CUT™ material).
8.5” x 11” InkTra™ Opaque Inkjet Transfer Paper
- First make sure you have the Print/Cut workflow enabled by selecting File > Print & Cut
- Select File > Printing Setup. You will see the Printing Setup window appear.
- In the Margins boxes (Top, Bottom, Left, Right) type in .5 inches
- In both of the Crop marks boxes (W=width and L=length) type in 7 inches for the width and 9.5 inches in the length.
11” x 17” InkTra™ Opaque Inkjet Transfer Paper
- First make sure you have the Print/Cut workflow enabled by selecting File > Print & Cut
- Select File > Printing Setup. You will see the Printing Setup window appear.
- Select Set up the printer
- Change the Paper size to 11 x 17
- In all of the Margins boxes (Top, Bottom, Left, Right) type in .5 inches
- In both of the Crop marks boxes (W=width and L=length) type in 9.5 inches for the width and 15.5 inches in the length.
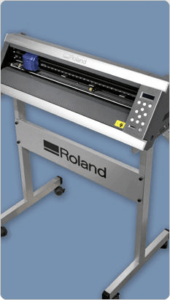
You will see the crop marks spread farther apart on the grid page. Please keep in mind that you only have a half inch to fit the pinch wheel of the Roland® DG GX24 onto the edges of the transfer paper. The pinch wheels cannot fall into the path of the crop mark printed on the page. A straight alignment and the pinch wheels as far to the edge of the paper is necessary so the optical eye can see the crop marks printed on the page.
Editor’s Note: If you need additional help working with your GX-24 or your drawing and cutting